Crafty Tuesday: 9 Days to DragonCon 2011
Posted By Kathleen David on August 23, 2011
This one is going to be pretty picture heavy so a majority of it is going behind the cut.
This entry is about that project that I said was the other monkey on my back for the Convention.
Now many of you may remember that I made an X-Men First Class Uniform for DragonCon. And I kept hinting at the prop I needed to complete the costume.
Well I have it to a point that I want to show it to see if it is recognizable as the object I made. (Hope that made sense to y’all but my mind is kinda focused on things other than words these days)
Today is all about the rest of the large puppets and Ship from Ben 10. Then onto the dolls for the table. One day is going to be clean up on all that I have done so far that just needs one or two things to be really complete. Also I need to rebuild parts of Nicky for the Puppetry Slam (Sunday Night 11:30).
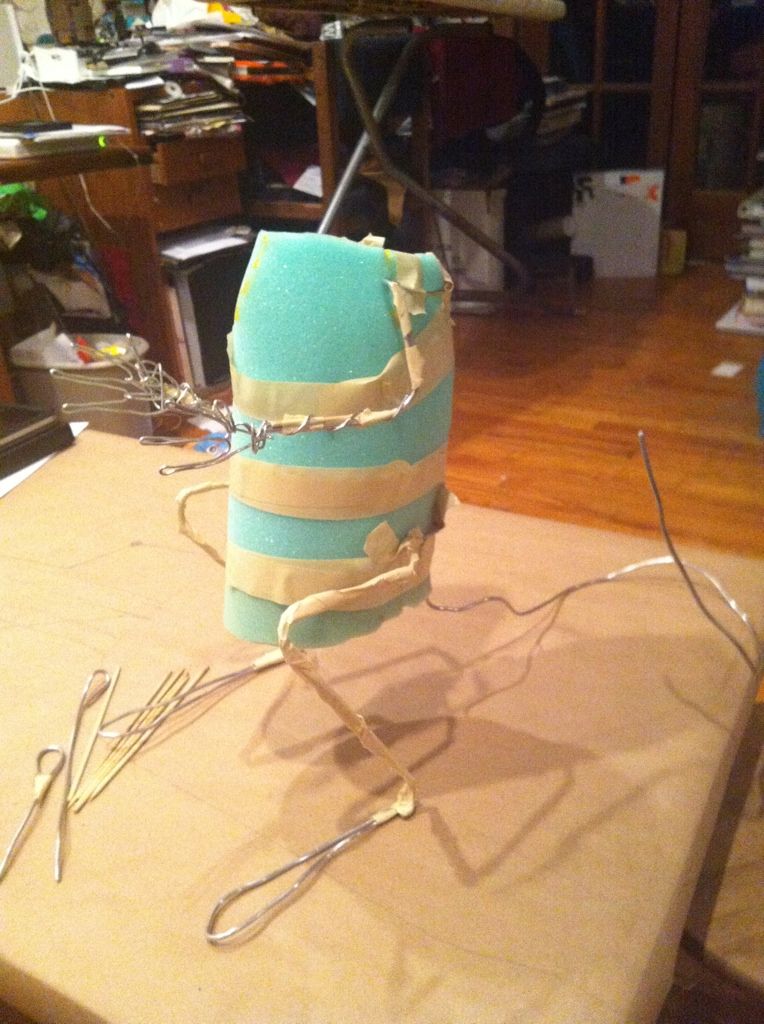
I started with the torso and worked my way out for the armature.
(For the Visually Impaired: This is a cylindrical green foam torso with silver armature wire for the placement of the limbs. There is a long piece of wire behind for the tail. There are two arms with hands formed out of wire and two legs jointed so the knee bends forward with large loops of wire for the feet. The wire is being held onto the body with masking tape).
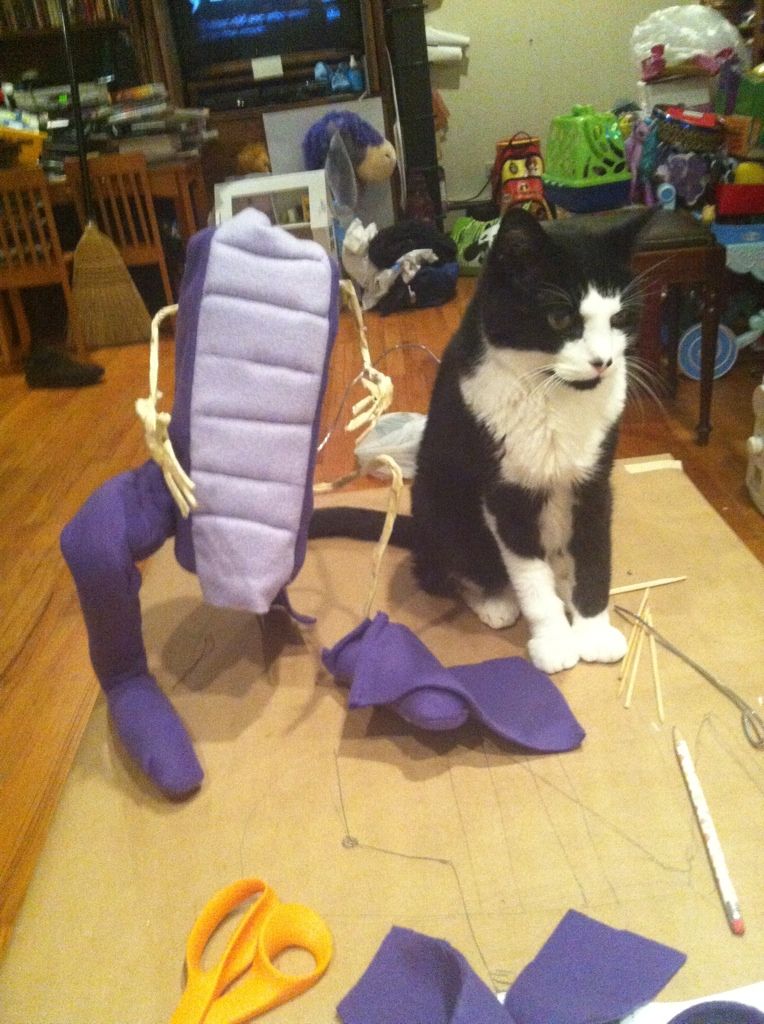
Then I covered the torso with fabric and started on the legs
(For the Visually Impaired: This is a straight on shot of the critter. The torso front is a light purple and the rest of the critter is a darker purple. The wire for the arms is covered in paper tape giving them a little more shape. There is the leg on the left is covered in purple fabric and is shaped like a leg. The one on the right is still just wire. To the right of the critter is my cat Stalin who is a smaller black and white cat just to give a size on this project.)
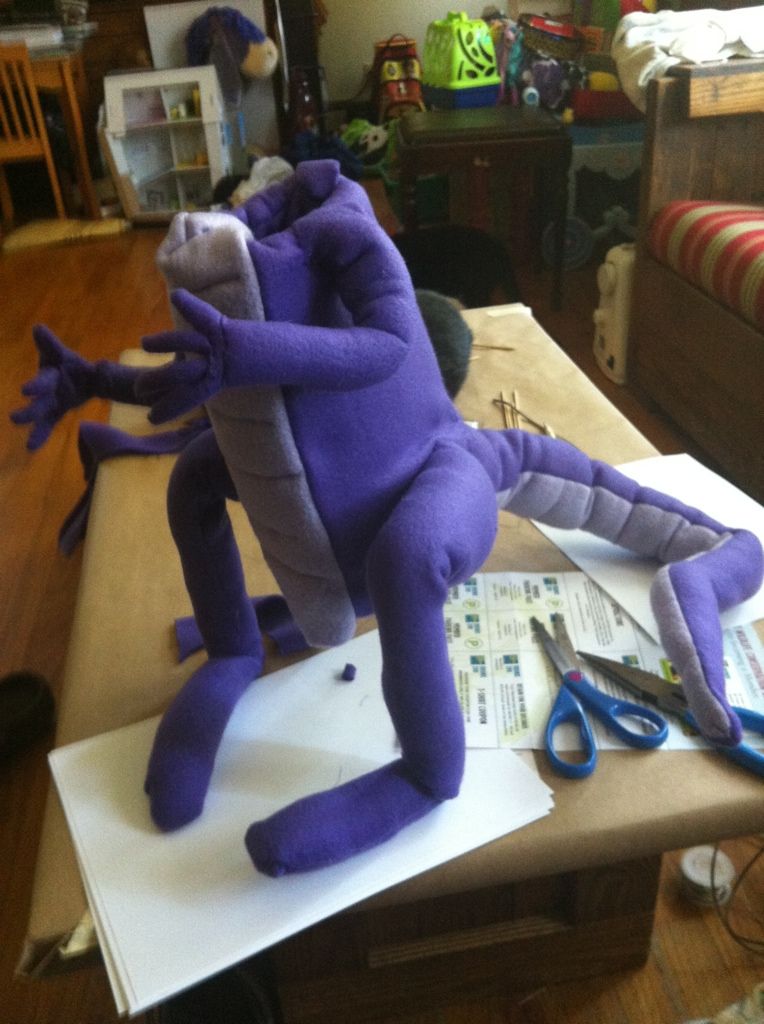
The basics of the body complete. The arms, torso, legs and tail are done.
(For the Visually impaired: A side shot of the same critter. The legs are both done the tail is now poking out of the back. The underside of the tail is the light purple and the top of the tail is the dark purple and it is attached to the critter’s rump. Both arms are covered with purple cloth.)
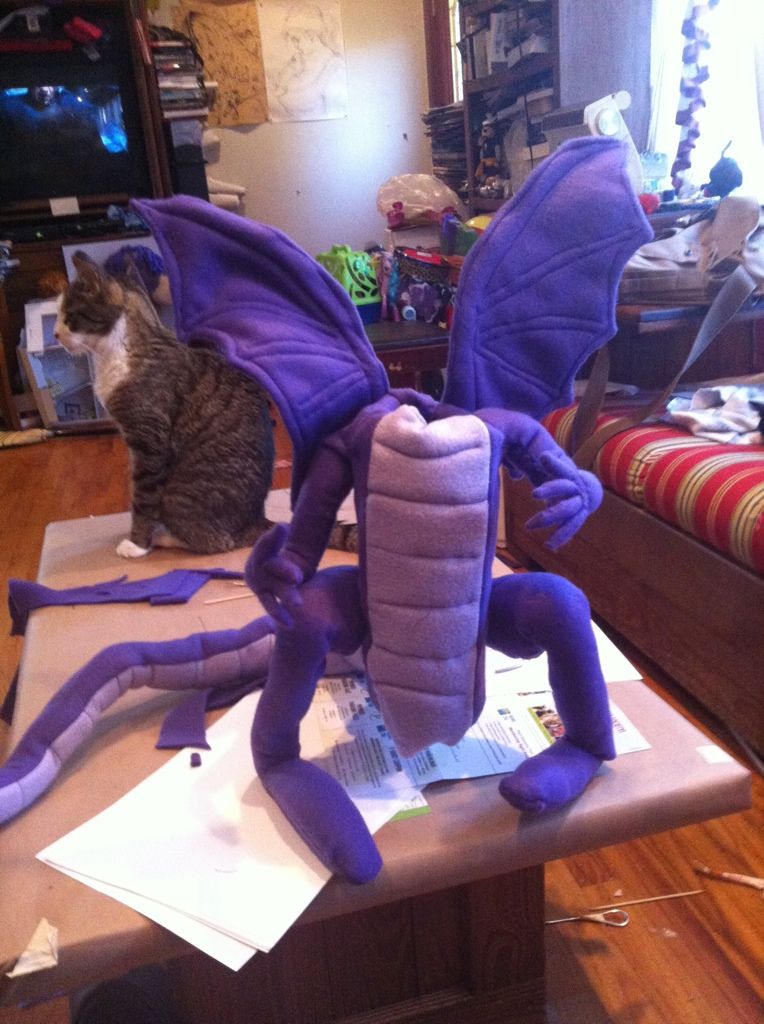
Next I added the wings which were the second set I did. The first set just didn’t work for me for the critter as a whole.
(For the Visually impaired: A front shot of the critter like the previous picture but now he had purple bat like wings sticking up from his back.)
The start of the head and the neck. This gives me the shape to work in
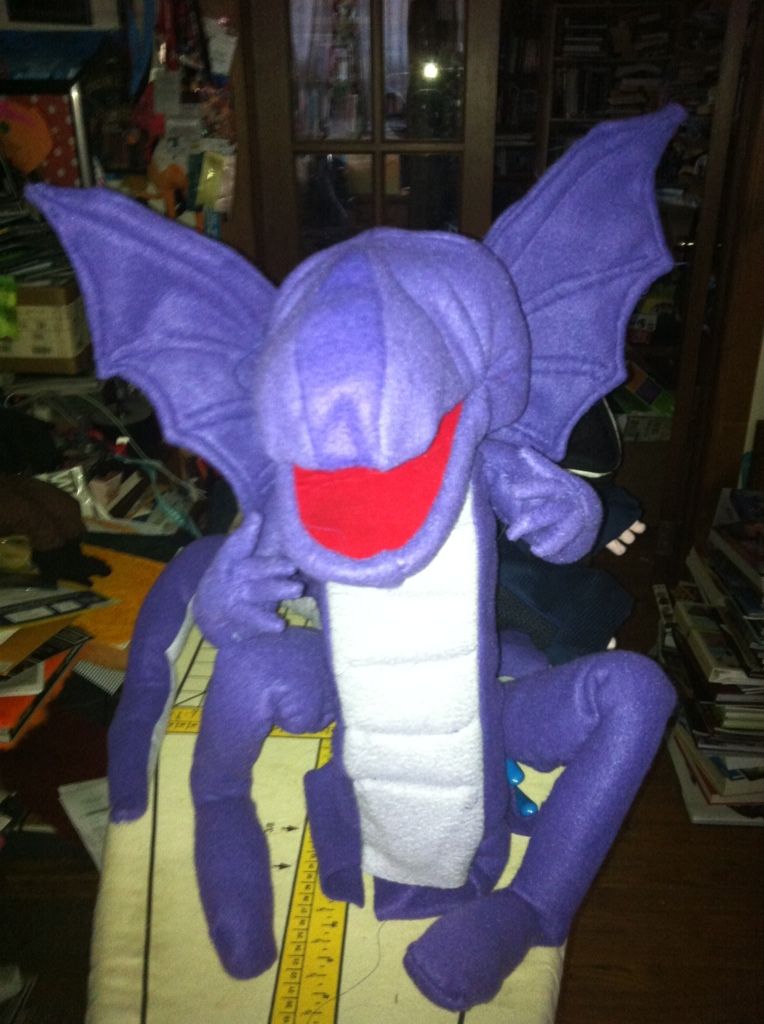
(for the Visually Impaired: The same body as before now on my ironing board. The head is purple with a red interior to the mouth. The muzzle is long and the top is a little smaller than the bottom. Think lizard.)
Added horns and teeth made out of Model Magic because I needed this to be light since he weighs a ton already and is going to be riding on my shoulder for the most part.
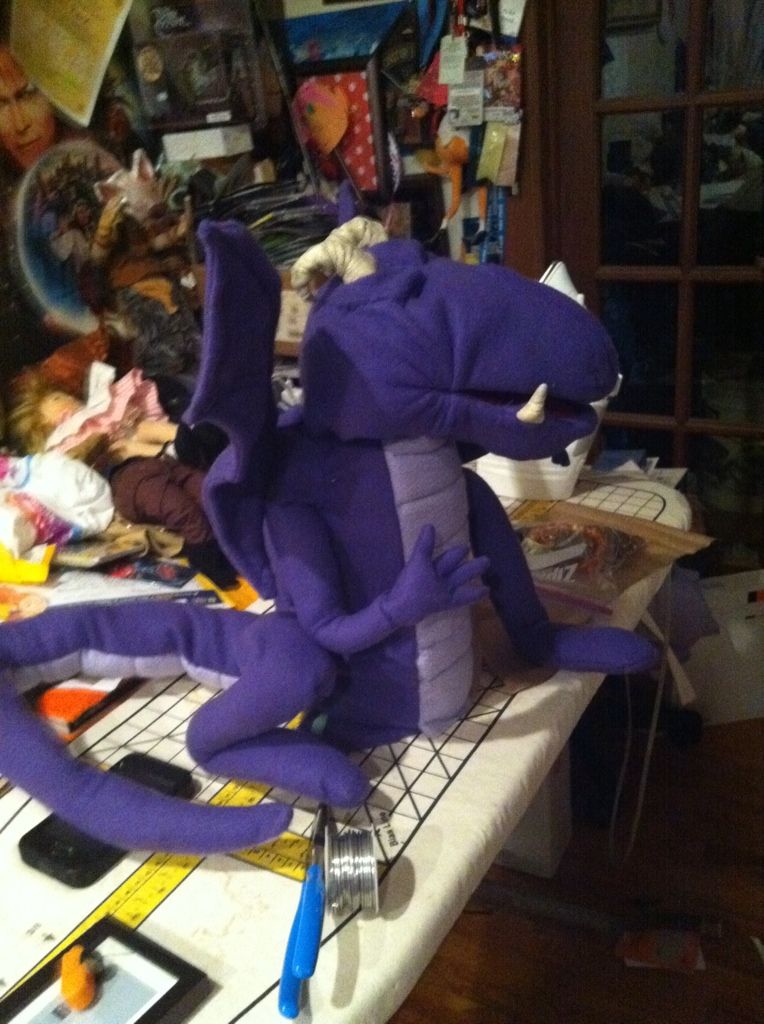
(For the Visually impaired: a side view of the critter so he is in profile. I have added horns to the top of his head and he has a tooth rather prominently towards the front of his jaw)
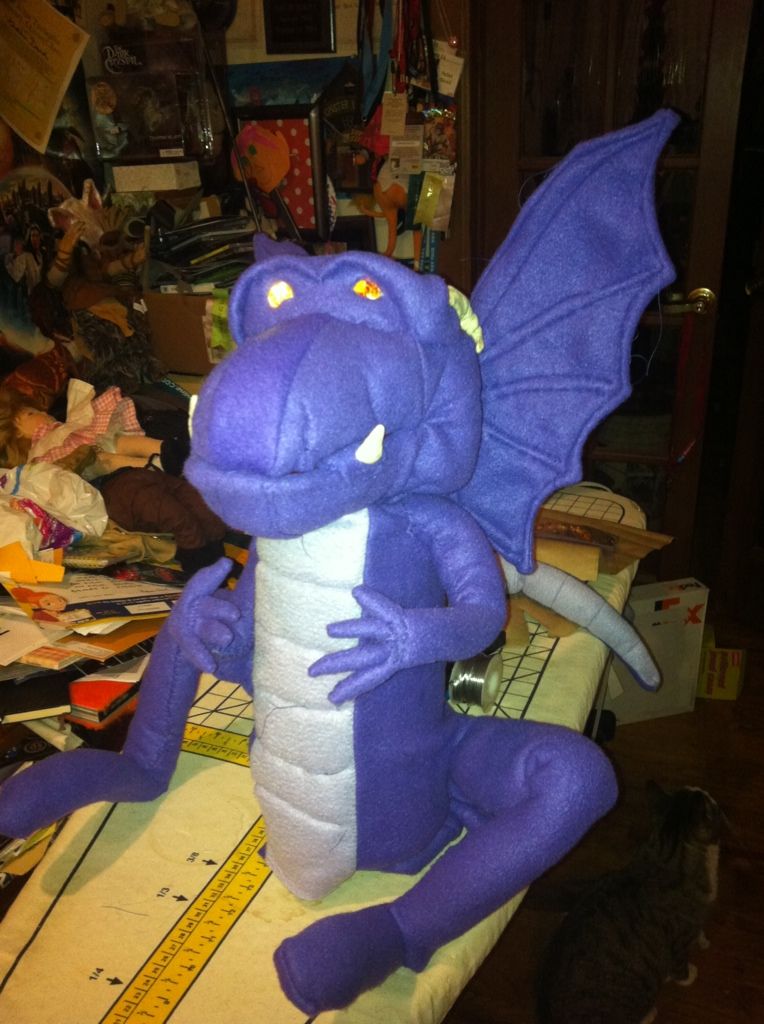
The eyes are glass beads with LED light behind them to make his eyes glow.
(For the Visually impaired: same critter on the ironing board. I have added his eyes which are gold in color and they are glowing a bit due to the lights I have behind his eyeballs.)
And there you have it. Yes, I do have some work left to finish him up but like I said I got him to the point that I wanted to show others.
I am very grateful that he came together so well and rather quickly all things considered.
Comments