Crafty Tuesday Project Update with Lots of Pictures
Posted By Kathleen David on April 26, 2011
I am putting the pictures behind the cut.
In the past two weeks I cleaned the house for company and finished two projects that have been hanging over my head since January. One was a Bunny for an Easter Swap among the members of a Doll group I belong to and the other was a challenge for another doll group I belong to on line which will be on display in a couple of weeks at Artistic Figures in Cloth.
In other news, I am going to have a table in the DragonCon 2011 Art Show. Now to figure out what I am going to do and do it. I am thinking about a memorial Sarah Jane puppet. I have some ideas of the other things I might do but I need to do that sit down thing and get sorted out.
I start these dolls with a wire armature. I use real aluminum armature wire because it lasts a long time and you can bend it quite a but before you have to worry about breakage.

(VI description: This is the beginnings of the bunny. You can see the armature wire wrapped in paper tape where the body is. The legs are bent like a sideways V to give the bunny that distinctive bunny squat. The feet, hands, and head are sculpted out of brown polymer clay and are bunny shaped. The head doesn’t have any ears yet.)

(VI description: This is the beginnings of Aviator Granny. You can see the armature wire wrapped in paper tape where the body is. . The feet, hands, and head are sculpted out of pale pink polymer clay and are human shaped with brown eyes.)
Next I take quilt batting and wrap it around the wire armature to give me the thickness I need for the parts of the doll. I can create a basic shape to the piece with this technique. After that I take cloth with a little stretch to it and make the doll’s “skin” with it.

(VI description: Same bunny with a dark brown fabric body that is filled out with the quilt batting to give it a rounder bunny shape. It still doesn’t have its ears so it looks a little strange)

(VI description: Aviator Granny with cream colored fabric for her skin. I have filled out her body with the quilt batting to give her sort of an apple shape.)
Once the body is done, I use paint washes to bring up and out the color of the dolls. I didn’t have much to do on the bunny since I had already used a colored clay for the head, hands and feet.
After that it is costuming and props which I didn’t get any pictures of this go round because I figured I would do that for another set of dolls.
So the final products look like this.

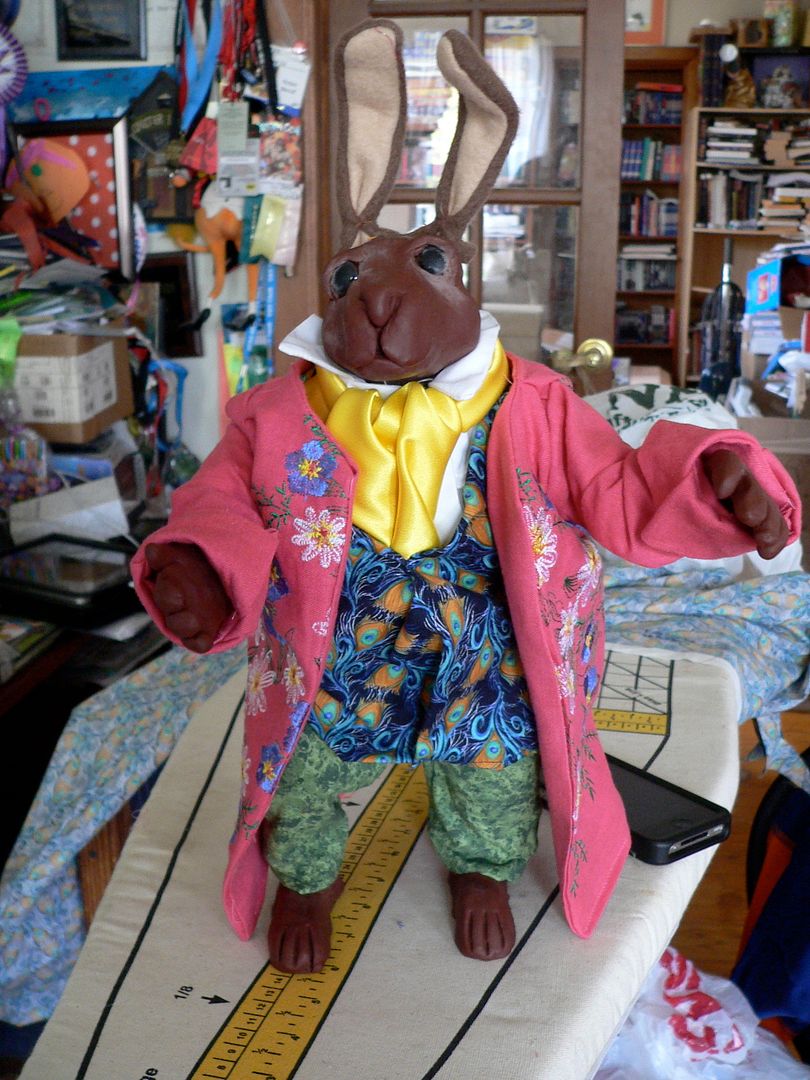
Peter Cottontail.
(VI description: The bunny has bunny ears now that have wire in them so they can be posed. The outside of the ear is the same brown as the body of the bunny and the inner ear is a cream shade of fabric for contrast. The Bunny is wearing a pink coat with embroidered flowers all over the back and front but not the sleeves. He has a white shirt with a yellow cravat. The vest is blue with a peacock feather pattern. The pants are a swirl pattern of various shades of green. There are no shoes since this is a Bunny.)

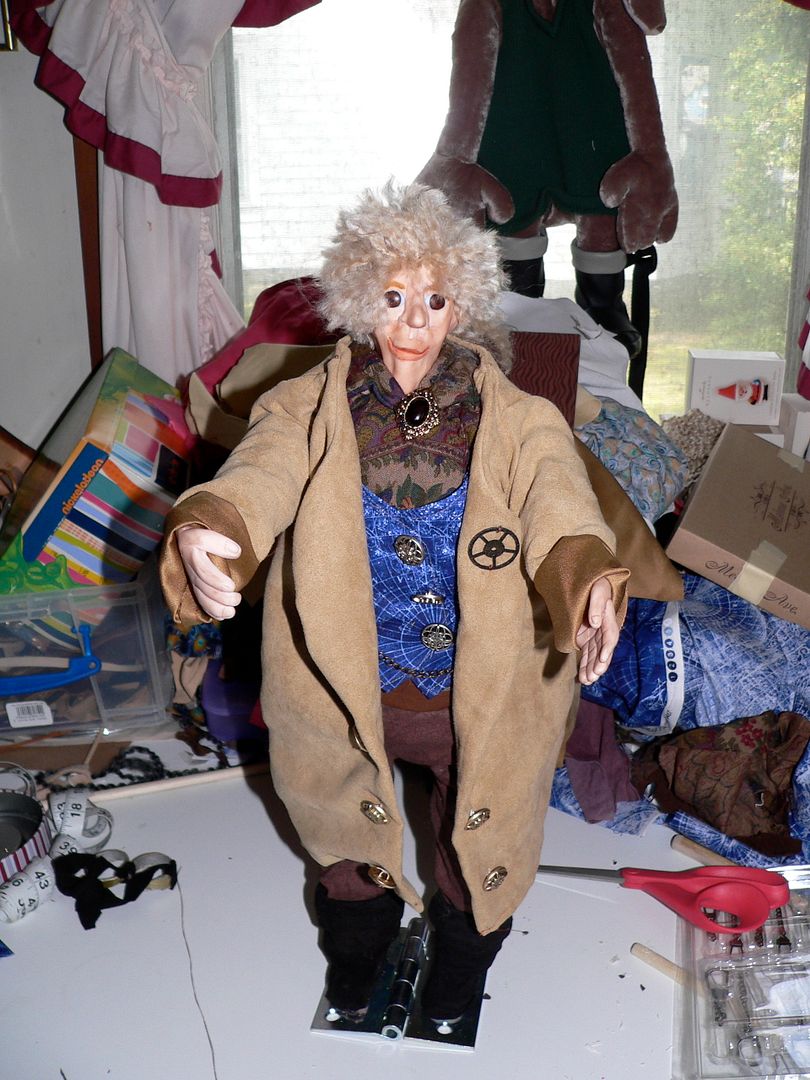
Aviator Granny without cap and googles
(VI Description: She has short fuzzy white/blond hair on her head. She is wearing a brown floral shirt with a paisley pattern. At her throat is a cameo of a black stone surrounded by a gold holder. She has a blue vest with a global map pattern on it with silver buttons. Her pants are brown and her boots are black. Her coat is cream colored with a gear on her left lapel and gold buttons. She is standing on a steel 8 by 8 hinge with the magnets in her feet.)

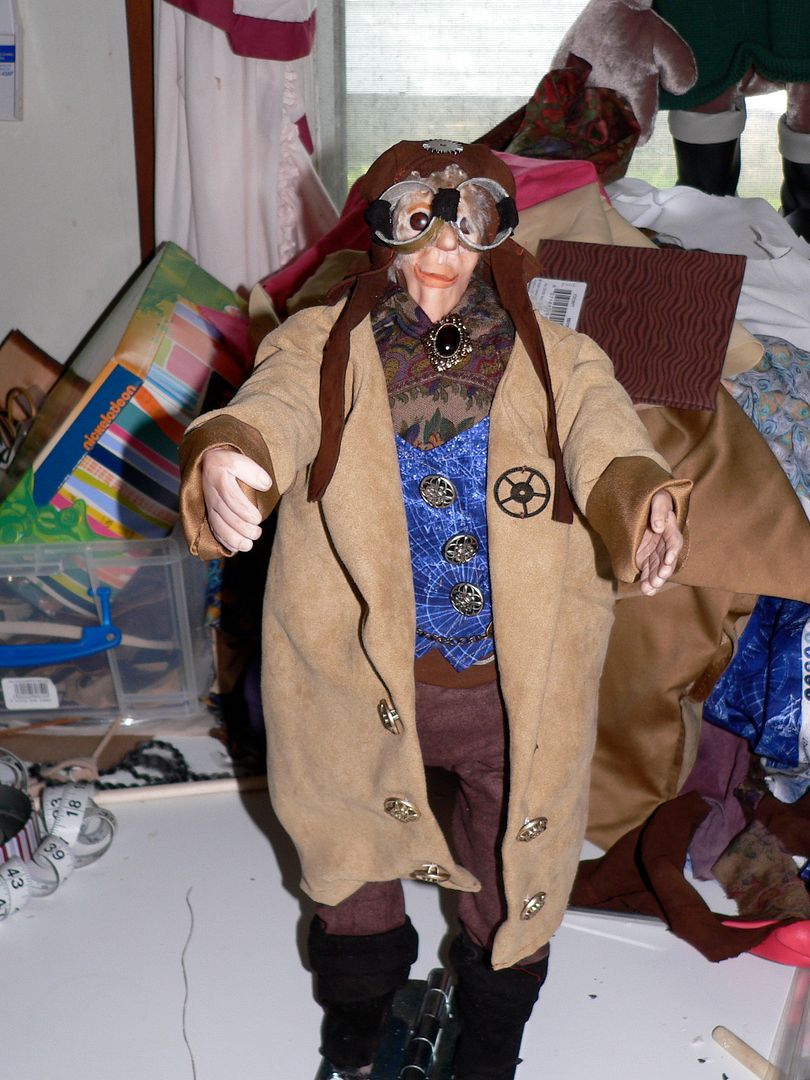
Granny with cap and googles
(VI Description: Same doll as before with a brown aviator’s hat with a gear in the center of her forehead and “brass” goggle over her eyes)
I am grateful I got all this done just in time.
They came out great! Love the costuming.
Well done! they show such humour!
They are great Kath! Love the idea of a steampunk granny! 🙂
hugs Karen
Luv your work Kathleen — and love the fact that you made a steam punk granny!! Still get compliments on my mermaid’s tail that you did on our roundabout hugs jan